Showing posts with label finger food. Show all posts

Wednesday, May 15, 2019

Baked Spicy Chicken Tacos

I have really been wanting Mexican for some time now but didn't want the usual boring beef tacos that are normally a mid week quick fix for dinner.  Then, as normal, I enlisted the help of my friend Google and came up with some fantastic ideas as always.

After deciding I would try baked tacos - the next decision was all about what filling I wanted.  There are so many different flavour combinations out there.  Something that everyone would eat is always the main criteria so chicken was a must.  And of course, being me, I had to add those vegetables in.  In this version I just used onion, corn, capsicum and black beans - I guess any vegetable would work though depending on your preferences.

This meal was so easy and perfect for a mid week dinner.  To make it even easier you could always used a cooked chicken from the supermarket rather than poaching the chicken yourself.  If you can save time cooking dinner during the week - go for it!

Flavours were magic - fixed my Mexican craving that's for sure.  A little spicy as I used my Homemade Taco Seasoning rather than shop brought.  However the additional cumin and garlic gave the flavours a little more depth and the lime juice added a beautiful zing.

I was pleasantly surprised at the crunchiness of the taco shells as I did expect them to sog a little and set the table with knives and forks at the ready.  No need.  This dinner was definitely finger food worthy and I am pleased to say completely all eaten... with lots of compliments from the family.


Baked Spicy Chicken Tacos

Serves: 6 - 8

4 chicken breast fillets
1 teaspoon salt
1 teaspoon ground black pepper
2 onions, diced
1 cup corn kernels
1 x 400 gram can Black Beans, rinsed and drained
1 red capsicum, finely diced
2 limes, juiced
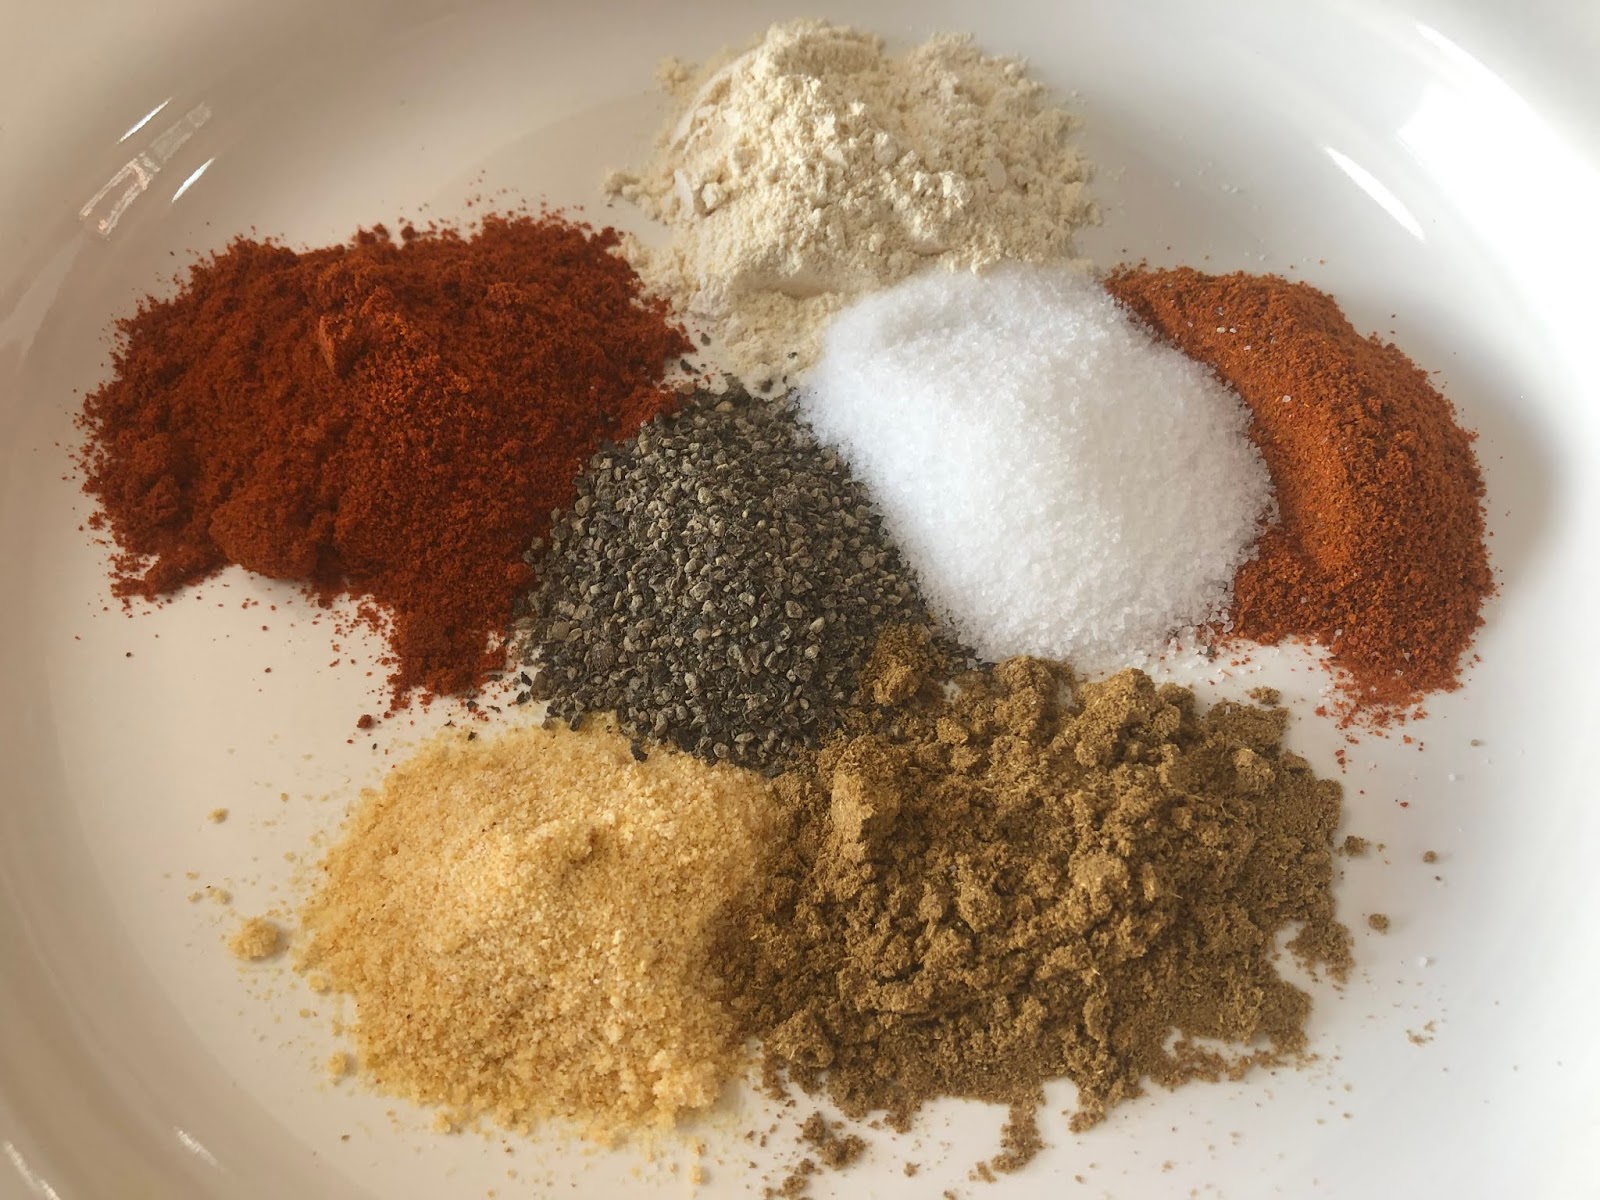
2 teaspoons taco seasoning (or as desired)
1 teaspoon ground cumin
1/2 teaspoon garlic powder
20 Stand and Stuff (flat bottomed) taco shells
2 cups grated  cheddar cheese
1½ cups shredded iceberg lettuce
2 tomatoes, diced
2 tablespoons chopped coriander
taco sauce or preferred sauce, for garnish

Trim fat off the chicken fillets and cut into 3 pieces.

Bring a medium saucepan of water to boil and add the chicken, salt and pepper.  Stir to ensure that the fillets do not stick together.  

Bring the water to the boil again and reduce heat to medium-low.  Allow chicken to simmer for 20 minutes. After 10 minutes add the onions.  Drain and set aside allowing to the chicken to cool.

In a large bowl mix together the corn, black beans, capsicum, lime juice, taco seasoning, cumin and garlic powder.

When chicken has cooled, shred using 2 forks or your preferred method.

Add chicken and onions to the bowl of vegetables.  Stir to combine well.

Preheat the oven to 200 degrees Celsius. 

Arrange the taco shells inside 2 large baking dishes (not too loosely or they will fall over).

Sprinkle a little cheese into the bottom of each taco shell.

Divide the chicken mixture among the taco shells and top with the remaining cheese.

Bake for 10 - 15 minutes or until tacos are warmed through and cheese is golden and melted.

Serve accompanied with lettuce, tomato and coriander.  Top with taco sauce if desired.


(Click here for a printable version of this recipe)


Saturday, December 1, 2018

Sticky Oven Barbecue Ribs

If you really want to see 2 kilograms of ribs disappear really quickly - I suggest you cook this recipe!

Saturday night feast had us smacking our lips and licking our fingers with this Sticky Oven Barbecue Ribs recipe.  And to say it beats restaurant or takeaway ribs is a total understatement.  Once you cook these I am guessing that you will hesitate to even order ribs at a restaurant or as a takeaway again.

One thing I do love is preparing and cooking easy yet flavoursome food - and to be perfectly honest this recipe was very easy to prepare taking about 15 minutes in total.  Slow cooked, giving me time to do other things, however devoured in minutes!  

I seasoned the pork ribs with a magic combination of herbs and let them rest in the fridge for around 8 hours (you can just rub the seasoning in and cook straight away).  Smelling these cook low and slow in the oven made coming into the kitchen irresistible as the aroma was very inviting.  Hints of garlic, cumin and chilli filled the air - definitely couldn't wait to eat these.

The sticky barbecue sauce, added to the ribs towards the end of the cooking time, was super easy to prepare also.  Add as little or as much cayenne powder to suit your palette (we added a fair bit but we like spicy) pop them back into the oven for 10 minutes and your fork free dining is ready.  Slice them or serve them as full racks with or without chips, salad!  So many choices.... just have serviettes or napkins on hand.

I am sure that these ribs won't last long - they didn't at ours!  


Sticky Oven Barbecue Ribs
(recipe adapted from Cafe Delites)

Serves: 4 - 6

2 kilograms American Style pork ribs
2 teaspoons garlic powder
1 teaspoon onion powder
2 teaspoons paprika
2 teaspoons salt
1 teaspoon cracked black pepper
1/2 teaspoon cumin
1 teaspoon Cayenne powder or chilli
4 tablespoons olive oil
2 cups (500ml) barbecue sauce
3 tablespoons minced garlic
1 tablespoon Worcestershire sauce
1/2 - 1 tablespoon cayenne pepper (optional for heat)
1 teaspoon salt


Preheat oven to 180 degrees Celsius.


Combine together garlic powder, onion powder, paprika, salt, pepper, cumin and chili or Cayenne. 


Sprinkle seasoning over ribs on both sides.  Place in a glass casserole dish cover with cling film and marinate in fridge for at least 2 hours - longer if time permits.


Place on a baking sheet or tray lined with foil and baking paper.  Drizzle with 2 tablespoons of olive oil.  


Cover tray with foil and bake for 2 hours, turning over once during the cooking time.


Mix together remaining ingredients to make the sauce.

Remove ribs from the oven, remove foil and spread the tops of the ribs with the barbecue sauce mixture.


Increase oven temperature to 240 degrees Celsius.  Return ribs to the oven, uncovered, and bake for a further 10 minutes.


Rest for 10 minutes before slicing or serving.


Enjoy....


(Click here for a printable version of this recipe)

Wednesday, August 2, 2017

Thai Style Chicken Satay Skewers with Peanut Sauce

I have been cooking the same Satay Sauce since I was a kid... it's the same one my mam cooks.  It comes from a old Women's Weekly Cookbook titled Chinese Cooking Class Cookbook.  Many of you would have seen this cookbook whether it was when it was first published, then republished or more likely on the shelf at an Opportunity Shop.  However saying this I thought it was time to try a different Satay Sauce to accompany some chicken skewers. 
 
Have you ever google a recipe and been amazed by how many different results you get?  Makes me wonder how big Google is or then again how big the world really is! I think I could have read about Satay Sauce for days.  Instead of the Chinese style sauce this time I thought I would be adventurous and try a recipe from another style of cooking, Thai.  While both hubby and I enjoy eating Thai foods we rarely cook it at home for a reason I can not produce.  I guess it's a style that we just haven't really experimented with - yet!

The marinade should taste sweet, spicy, and salty. It doesn't have to be the spiciest but the stronger more vibrant flavours should be sweet and salty. If you need to adjust the taste add more sugar or more fish sauce to adjust the taste. However if you would want it to be spicier you also can add more chilli.

Now for the sauce.  No peanut butter in sight as this authentic recipe for Thai peanut sauce is made with real peanuts! This part of the meal was quick and easy to make.  While this sauce is meant to have be smooth, but if you prefer it with a bit of crunch when processing the nuts leave some smaller pieces to the side. Adding more fish sauce (or soy sauce) if not salty enough, or more cayenne if not spicy enough. If too salty, add a squeeze of fresh lime juice. If you'd prefer it sweeter, add a little more sugar.

Overall this wasn't one of the easiest recipes to make but well worth the effort.

 
Thai Style Chicken Satay Skewers with Satay Sauce
(Recipe adapted from The Spruce)
 
Serves: 6
 
1/4 cup minced lemongrass, fresh or frozen
2 shallots
4 cloves garlic
1 to 2 fresh red chillies, sliced
1 thumb-size piece galangal or ginger, thinly sliced
1/2 teaspoon turmeric
2 tablespoons ground coriander
2 teaspoons cumin
3 tablespoons dark soy sauce (available at Asian food stores)
3 tablespoons fish sauce
6 tablespoons brown sugar (you need all of this)
2 tablespoons vegetable oil
18 chicken tenderloins or 1 kilogram chicken breast fillets, sliced thinly
1 cup fresh-tasting dry roasted peanuts, unsalted
1/3 cup water
2 cloves garlic, minced
1/2 teaspoon dark soy sauce
2 teaspoons sesame oil
1 - 2 tablespoons brown sugar, to taste
2 - 2 1/2 tablespoons fish sauce
2 tablespoons lime juice
1/2 teaspoon cayenne pepper
1/3 cup coconut milk
18 wooden skewers

Make the marinade by placing the lemongrass, shallots, garlic, chiles, galangal or ginger, turmeric, coriander, cumin, soy sauce, fish sauce, brown sugar, and oil in a food processor or chopper. Process well.


Place chicken in a bowl and pour the marinade over. Stir well to combine. Cover and allow to marinating for at least 2 hours but overnight if time permits.


Soak skewers in hot water for 30 minutes.

Meanwhile place remaining ingredients in a blender or food processor. Blend or process until sauce is smooth. If you prefer a runnier peanut sauce, add a little more water or coconut milk.  Place in a bowl.
 
 
Thread chicken onto the skewers leaving a quarter of the skewer empty to act as a handle when grilling or frying.

Grill or fry the satay, basting the first time you turn it with a little of the leftover marinade from the bowl. Depending on how thin your meat is, the satay should be done in 10 to 20 minutes.

 
Place satay sauce in the microwave on high for 1 - 2 minutes or until warmed through.

Serve with Thai jasmine rice and Thai peanut sauce for dipping.
 
Note:  This sauce tends to thicken as it sits so just add a little water or coconut milk to thin it out, as needed. Otherwise, it stores well if kept covered in the refrigerator for up to 2 weeks or you can place in the freezer.

Tuesday, September 2, 2014

Sweet and Sour Jalapeno Poppers

I know I have mentioned this before but I, we, both of us LOVE Poppers.

This recipe from Taste of Home not only intrigued me but definitely intrigued my tastebuds from the first mouthful.  Sweetness of the brown sugar, saltiness of the proscuitto and the tingle from the chilli combined make for a delicious mouthful.

The best things about Poppers is that they are not only easy to make, they are quick and perfect for entertaining or even just a quick snack. 


Sweet and Sour Jalapeno Poppers
(Recipe adapted from Taste of Home)

Makes : 16
ProPoints per Popper: 1

8 Jalapeno peppers
125 grams Philadelphia Extra Light Cream Cheese
60 grams grated tasty cheese
1 teaspoon dried thyme
freshly grated black pepper
8 thin slices (100 grams) prosciutto or parma ham, cut in half lengthways
¼ cup firmly packed brown sugar
½ teaspoon chilli powder

Preheat oven to 180 degrees Celsius.

Line a baking tray with baking paper.

Cut jalapenos in half lengthwise and remove seeds, set aside.

In a small bowl beat cheeses, thyme and pepper until well blended. Spoon into pepper halves. Wrap a half strip of prosciutto around each pepper half.

Combine brown sugar and chilli; coat peppers with sugar mixture.

Place on prepared baking tray. Bake for 18-20 minutes, or until cheese is melted and prosciutto crispy.

Serve immediately.


Thursday, December 29, 2011

Prawn and Avocado Salsa Wonton Cups

Boxing Day we headed off for lunch at our long time family friends' house.  It was a lovely day so I decided to take something light yet tasty as my food offering.

Wonton cups are so easy to make and make an attractive entree, finger food and even a dessert.  They can be filled with whatever takes your fancy.  I decided that it would be prawns with an avocado salsa just for something different.


 Prawn and Avocado Salsa Wonton Cups

Serves: 30
ProPoints per Serve: 1

30 fresh wonton wrappers
30 cooked and peeled prawns
1 avocado, diced
3 large tomatoes, diced
1/2 red onion, finely diced
1 teaspoon lemon juice
1/2 teaspoon chilli powder
freshly ground black pepper
150 grams Kraft Philadelphia Extra Light cream cheese

Preheat oven to 180 degrees Celsius.

Spray a large muffin tin with cooking spray.  Line each muffin hole with a wonton wrapper.  Spray tops of wrapper and cook in oven for 5 - 8 minutes or until wrapper is crisp and golden.  Remove and allow to cool.

In a bowl gently mix together the avocado, tomatoes, red onion, lemon juice, chilli powder and black pepper.

In the base of the wonton cup place a teaspoon cream cheese, stand up the prawn and fill the wonton cup with a couple of teaspoons of salsa.

Serve.

Note - do not fill too early before serving or wonton cup with go soggy.