
By the end of summer I am personally sick of salad. Although I try and make salads as interesting as possible. Some of my favourite salads would have to be Roast Pumpkin, Beetroot and Bocconcini Salad with Guiness Dressing or Roast Pumpkin Salad and of course, the Crunchy Asian Salad. However, there comes a point where I just cannot eat salad anymore.
Saying this, you are not going to believe the salad on the plate tonight. This would have to be the most jam packed flavoursome salad that only has 3 ingredients...... yep go figure. Bold spinach combined with the sweetness of thinly sliced red onion. Scattered with fresh pomegranate tendrils.
The hardest thing about making this salad is removing the tendrils from the pomegranate. The easiest way I have found is to cut the top off and make slits down the sides of the pomegranate. Then open it like a flower, turn upside down and tap with a wooden spoon. Here is an instructional video. Once you have done it a few times you will have mastered the art of doing this without too much mess.
It's actually one of our daughter's favourites and takes this for lunch at school quite often. I like it drizzled with balsamic vinegar to add another element. In all seriousness you will love this.
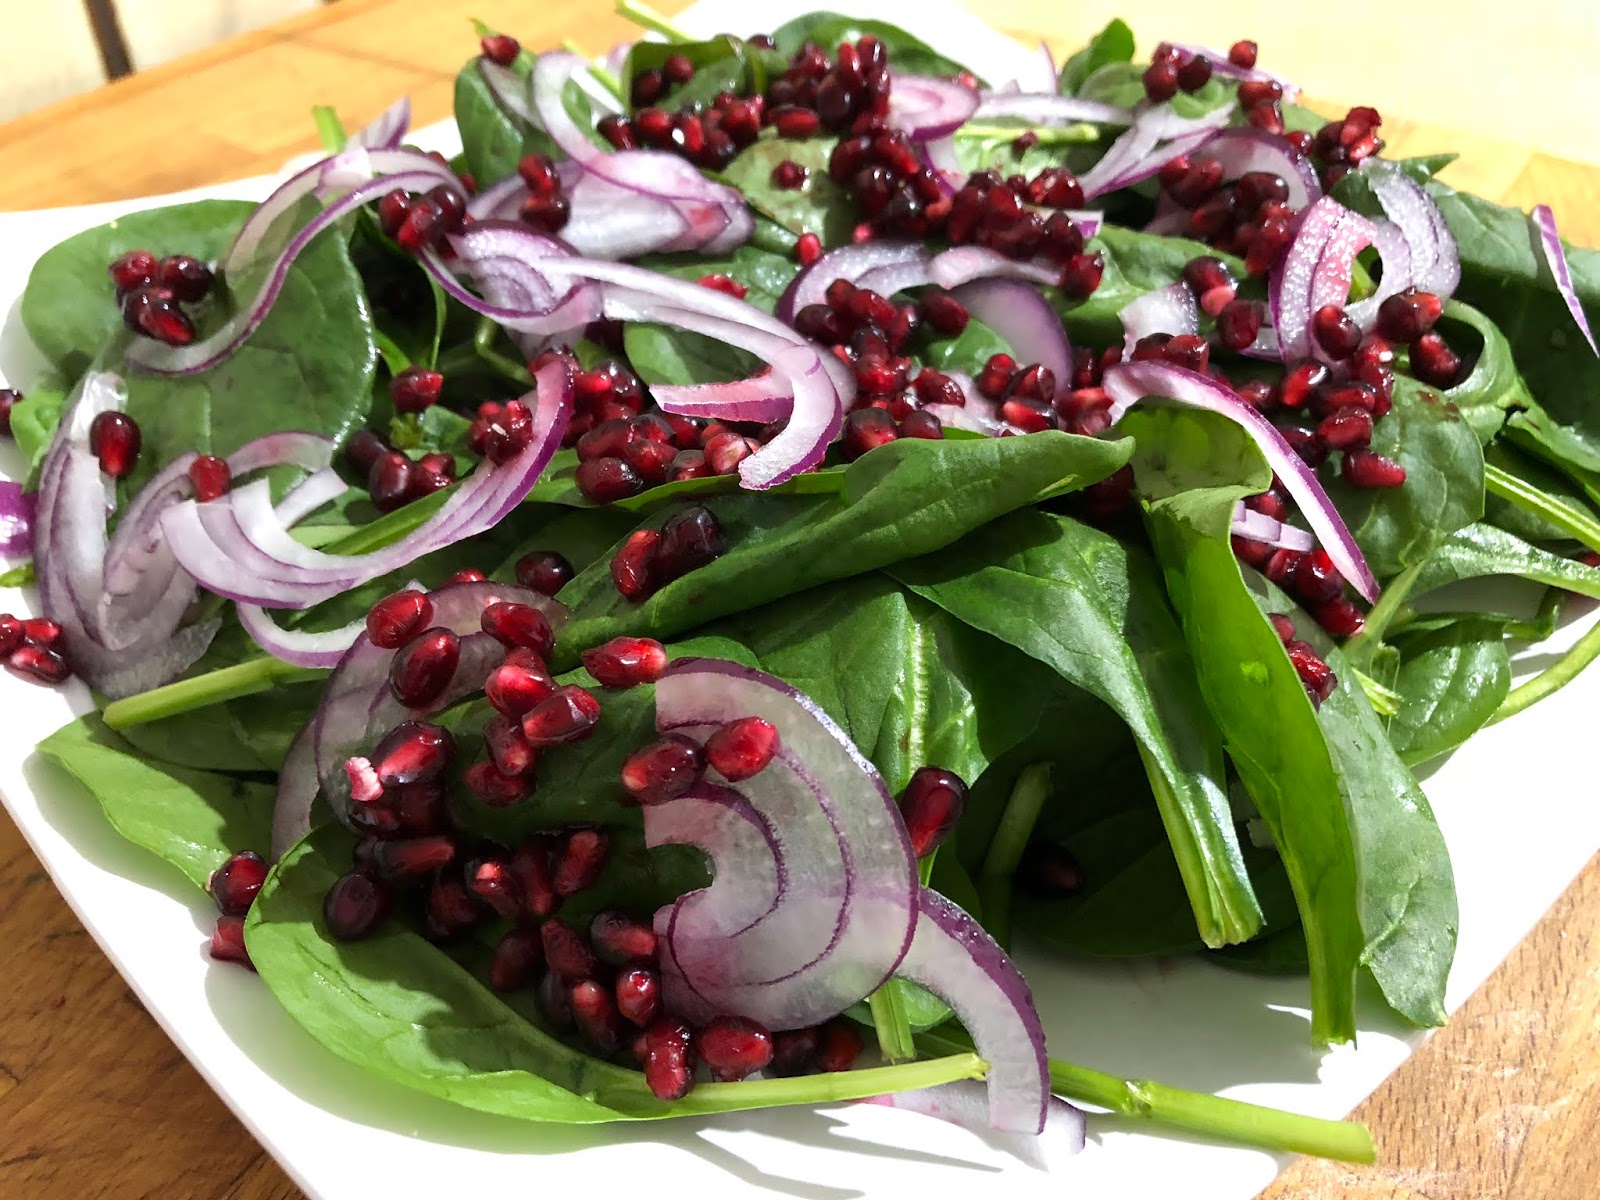
Pomegranate and Spinach Salad
Serves: 4
500 grams baby spinach leaves, rinsed and patted dry
1 small red onion, thinly sliced
tendrils of 1 pomegranate
On a large platter or bowl layer the spinach and red onion. Toss together if you wish.
Sprinkle with pomegranate tendrils.
Serve immediately.

(Click here for a printable version of this recipe).


