Saying this I did have a kilogram of fresh mussels which I brought on a whim on Saturday so we turned our focus on them. Noel and I have only ever cooked mussels once before and then I overdid the chilli so it was decided it was Noel's turn to attempt to create a meal for us and that he did.
Flavoured with lime, chilli, garlic and ginger in a fantastic light sauce these mussels were brilliant and made a great dinner for the two of us. Saying that you could easily serve this to four or 6 as an entree.
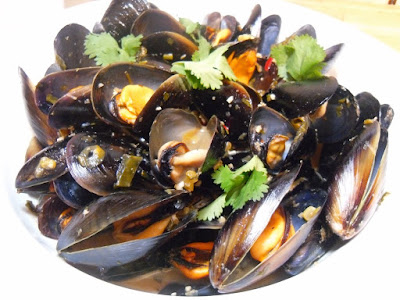
Thai Mussels
Serves: 2
Points per serve: 3
1 kilogram fresh mussels in shells
juice of 1 1/2 limes
juice of 1/2 lemon
1 teaspoon fish sauce
1/4 cup dry white wine
1 teaspoon soy sauce
1 tablespoon brown sugar
2 teaspoons crushed garlic
2 teapsoons crushed ginger
pinch of salt
1 tablespoon olive oil
2 spring onions, finely sliced
1/2 bunch fresh coriander, roughly chopped
3 red bullet chillies, deseeded and chopped
coriander leaves for garnish
Clean and scrub mussels, disgarding any broken or open ones that do not close when tapped on the bench.
In a large jug mix together lime juice, lemon juice, fish sauce, white wine, soy sauce, brown sugar, garlic, ginger and salt. Mix well ensuring sugar is dissolved.
Heat oil in a large wok or frying pan that has a lid. Carefully pour in sauce mixture, add spring onions, coriander and chillies. Mix well and bring to a boil.
Add mussels to the wok and toss until coated. Reduce heat to medium, cover with a lid and allow to steam for approximately 5 minutes. Remove from heat and toss through the sauce.
Place in a large serving bowl, garnish with coriander and serve immediately.


 (click here for a printable version of this recipe)


 (click here for a printable version of this recipe)


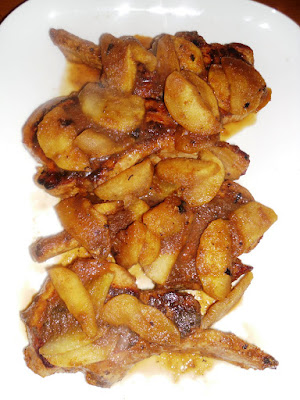
 Chicken Pizziola